
Summarize this article with AI Open a summary of this article in your preferred assistant
Divide each straight run by the 250 cm panel width, rounding up run by run. Posts are one more than the panels on a straight line and as many as the panels on a closed loop, with two gate posts at each gate. Razor wire is bought by length: run length times rows, divided by the extended length of one coil, which the quote states.
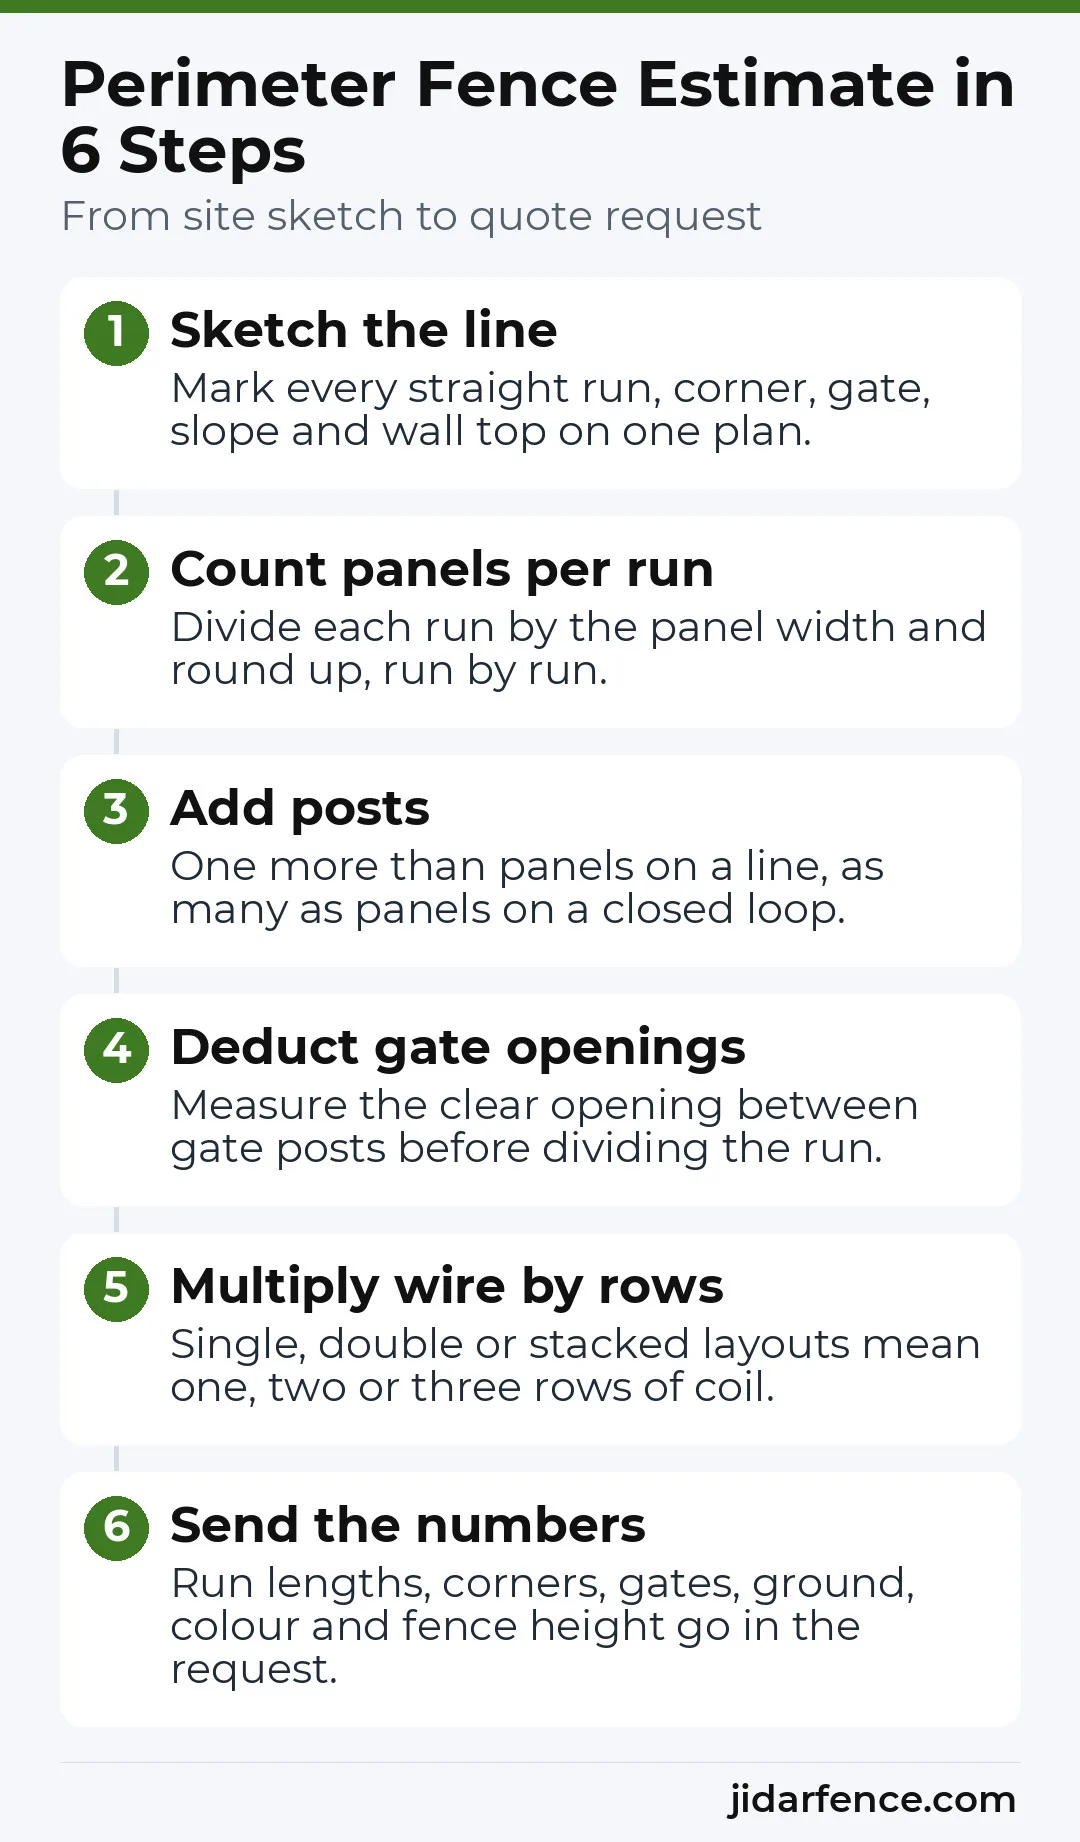
Split the perimeter into straight runs, divide each by the 250 cm panel width and round up. A straight line needs one more post than panels, a closed loop needs as many posts as panels, and a gate brings its two gate posts. Razor wire is bought by length: multiply the run by the number of rows.
Below are a quick reference table, a worked 50 m by 30 m yard and the list we need for a quote. Panel and post figures come from our panel fence pages, wire figures from the razor wire pages.
Draw the line before you add anything up
A single perimeter total hides most of what you will buy. Corners, gates, slopes and stretches where a wall takes over from the fence each change the count. Sketch the boundary, label every straight run with its length in metres, and write the ground type beside it: soil, concrete or the top of a wall. If the ground rises or falls, mark where.
For a rectangle the perimeter is 2 × (length + width), so a 50 m by 30 m yard is 2 × (50 + 30) = 160 m. An irregular boundary is the sum of its straight runs. Take lengths between post centres. A measurement taken from the edge of a post makes a made-to-size panel come out short.
Panels: round each run up on its own
The standard panel is 250 cm wide, so a run needs its length in metres divided by 2.5. Work run by run.
Round every straight run on its own. One rounding on the whole perimeter hides the leftover gaps at corners and gates.
A 31 m run shows why. It takes 12 standard panels (30 m) and leaves 1 m. That last metre is a custom-size panel, so the run has 13 panels in all and needs one more post. Ordering the panel to fit is cleaner than cutting one on site, because a panel made to size is coated after cutting, while a panel cut on site leaves bare wire ends.
The 3D panel fence and the 2D panel system share the 250 cm width, so the counting stays the same whichever you choose. If the choice is still open, read 2D vs 3D panel fence and how mesh size affects security first.
Posts: one more than panels on a line, as many as panels on a loop
The Panel Fence Post page sets the rule for a straight line: one more post than panels, because both ends of the line need a post. Post spacing equals the panel width, 250 cm for the standard panel.
A closed perimeter has no ends. The last panel meets the first at the same post, so the loop needs as many posts as panels. Each corner post is already in that total, because it holds the panels on both sides of the corner. This holds when every run ends on a panel edge at the corner. A run that does not divide evenly closes with a custom-size panel, which counts as one more panel and one more post.
A gate opens the loop. The posts on either side of the opening are the gate posts, two per gate. In a closed perimeter with one gate, the loop becomes a single open stretch of panels, so the total is panels plus one, and two of those posts are the gate posts. The quote confirms the final count, including whether the gate set brings its own posts.
Quick reference: panels and posts for common lengths
These figures use the standard 250 cm panel and leave out gates, slopes and wire. Panels are rounded up.
| Layout | Length | Panels (250 cm) | Posts |
|---|---|---|---|
| Straight line | 25 m | 10 | 11 |
| Straight line | 50 m | 20 | 21 |
| Straight line | 100 m | 40 | 41 |
| Straight line | 200 m | 80 | 81 |
| Straight line | 31 m | 13 (12 standard + 1 custom-size) | 14 |
| Closed loop, 25 m × 25 m | 100 m | 40 | 40 |
| Closed loop, 50 m × 30 m | 160 m | 64 | 64 |
Post length depends on how the post is fixed. A post set in concrete on soil is as long as the panel is high plus its burial depth, which we agree with you from the ground and the wind. A flanged post, fixed with anchors to concrete or to the top of a wall, is as long as the panel is high. The listed lengths are 100, 120, 150, 200 and 240 cm, so panel height and ground type decide which one goes on the order. For the steel against concrete question, see steel post or concrete post.
Gates take length out and put posts in
Treat each gate as a gap. Take the opening width off the run before you divide by the panel width. The two posts on either side of the opening are the gate posts, and they take the weight of the leaf and the strain of opening and closing. The standard pedestrian gate is 100 cm wide and comes in 100, 120, 150 and 200 cm heights. Sliding and swing gates for vehicles are made to order. For those, measure the clear opening between the two gate posts, add a turning allowance for the vehicle approach and say whether the leaf opens inward or outward.
Suppliers do not all count gate posts the same way. One published guide adds two per gate, while another adds a single finishing post. When two quotes show different post counts, ask each supplier which rule it uses and whether the gate posts come with the gate or with the post list, so no post is counted twice or left out.
Slopes and wall tops
On sloping ground the line steps down, with each panel sitting a little higher or lower than the one before. Panels are still counted by run length, but each section needs its own distance from the bottom edge of the panel to the ground. Where the standard size does not fit, a custom-size panel closes the difference. On a wall, measure the height from the top edge of the wall and plan flanged posts with anchors.
Razor wire: count rows, then divide by coil length
Start from the length of fence the wire will cover, then multiply by the number of rows. That gives the length of wire.

The number of rows depends on where the wire goes. On top of a panel fence, the 60 cm spiral sits in one row on V or Y brackets fitted to the posts, so the bracket count follows your post count. Laid on the ground as a separate line, the 90 cm spiral can run as a single row, as two coils side by side, or as a stack of two coils with a third on top. That is one, two or three rows of wire for the same line length. On a wall the 45 cm spiral goes without brackets, and on the top edge of a gate leaf the 45 cm flat strip stays in line with the leaf instead of rubbing against the post and the wall.
Number of coils = length of wire ÷ extended length of one coil, rounded up. The extended length comes only from the quote. It changes with the number of loops and with tensioning, which is why we state the loops and the extended length in each quote. This page gives no figure for it, so the worked example below stops at the wire length.
Check local rules before you fix the quantity. Some municipalities restrict razor wire on gardens and wall tops, and our article on razor wire rules shows how those decisions differ.
A worked example: 50 m by 30 m
The site below is made up to show the arithmetic. It is a rectangle with one 5 m sliding gate on a 50 m side, which splits that side into runs of 20 m and 25 m. One row of 60 cm spiral razor wire runs along the fence top.
| Item | Working | Result |
|---|---|---|
| Perimeter | 2 × (50 + 30), less the 5 m gate opening | 160 m, 155 m of fence |
| Fence runs | From gate post to gate post: 25 m, 30 m, 50 m, 30 m, 20 m | 155 m of fence |
| Standard panels | 10 + 12 + 20 + 12 + 8 | 62 panels |
| Posts | 62 panels in one open stretch, plus 1; the 4 corner posts and the 2 gate posts are inside this total | 63 posts |
| Gate | 5 m clear opening, sliding, made to order | 1 gate |
| Razor wire length | 155 m in 1 row | 155 m of wire |
| Coils | 155 m ÷ extended length of one coil, rounded up | From the quote |
| Gate-top strip | Measure the gate leaf, not the opening | From the gate drawing |
| Brackets | One per post that carries wire | Start from the post count, confirm in the quote |
A cross-check: the same yard with no gate is a closed loop of 64 panels and 64 posts. The 5 m opening takes out 2 panels and 1 post, which leaves 62 panels and 63 posts.
Every run in this example divides evenly. Real yards rarely do. Where a run leaves a gap, add a custom-size panel for it, which counts as one more panel and one more post.
Mistakes that change the order
- Measuring to the edge of a post instead of between post centres.
- Rounding the perimeter once instead of rounding each run.
- Adding corner posts on top of the post count of a closed loop.
- Ordering posts as long as the panel is high when they will be set in concrete.
- Putting a spiral over a moving gate where a flat strip would stay clear.
- Comparing two quotes without checking how each one counts gate posts.
What to send with your request
Send a measurement list with a sketch through the contact page. It should include:
- the length of each straight run, the number of corners and the fence height;
- for each gate, the opening width, the type (pedestrian, sliding or swing) and the opening direction;
- the ground under each run (soil, concrete or wall top) and where it slopes;
- the panel colour, with RAL 7016 anthracite gray and RAL 6005 green in stock;
- for razor wire, the run it covers, the fence type, whether brackets are already fitted, the number of rows and the delivery location.
The quote then states the number of loops and the extended length of the wire. If you are still choosing between panel types, start from the panel fence group; for the wire, see the razor wire group.
Frequently asked questions
How many posts does 100 m of straight panel fence need?
How many posts does a closed perimeter need?
How do I calculate the perimeter of a fence?
How far apart should the posts be?
Do I count a gate as one of the panels?
Can I cut a panel on site to close a gap?
How much razor wire do I need for 120 m on a double row?
Does a sloping site change the number of panels?
Why can two suppliers quote different post counts for the same fence?
Does the fence-top razor wire also cross the gate opening?
Can I ask for a quote with only rough measurements?




0 comments
Leave a comment
Your comment will be published after review.